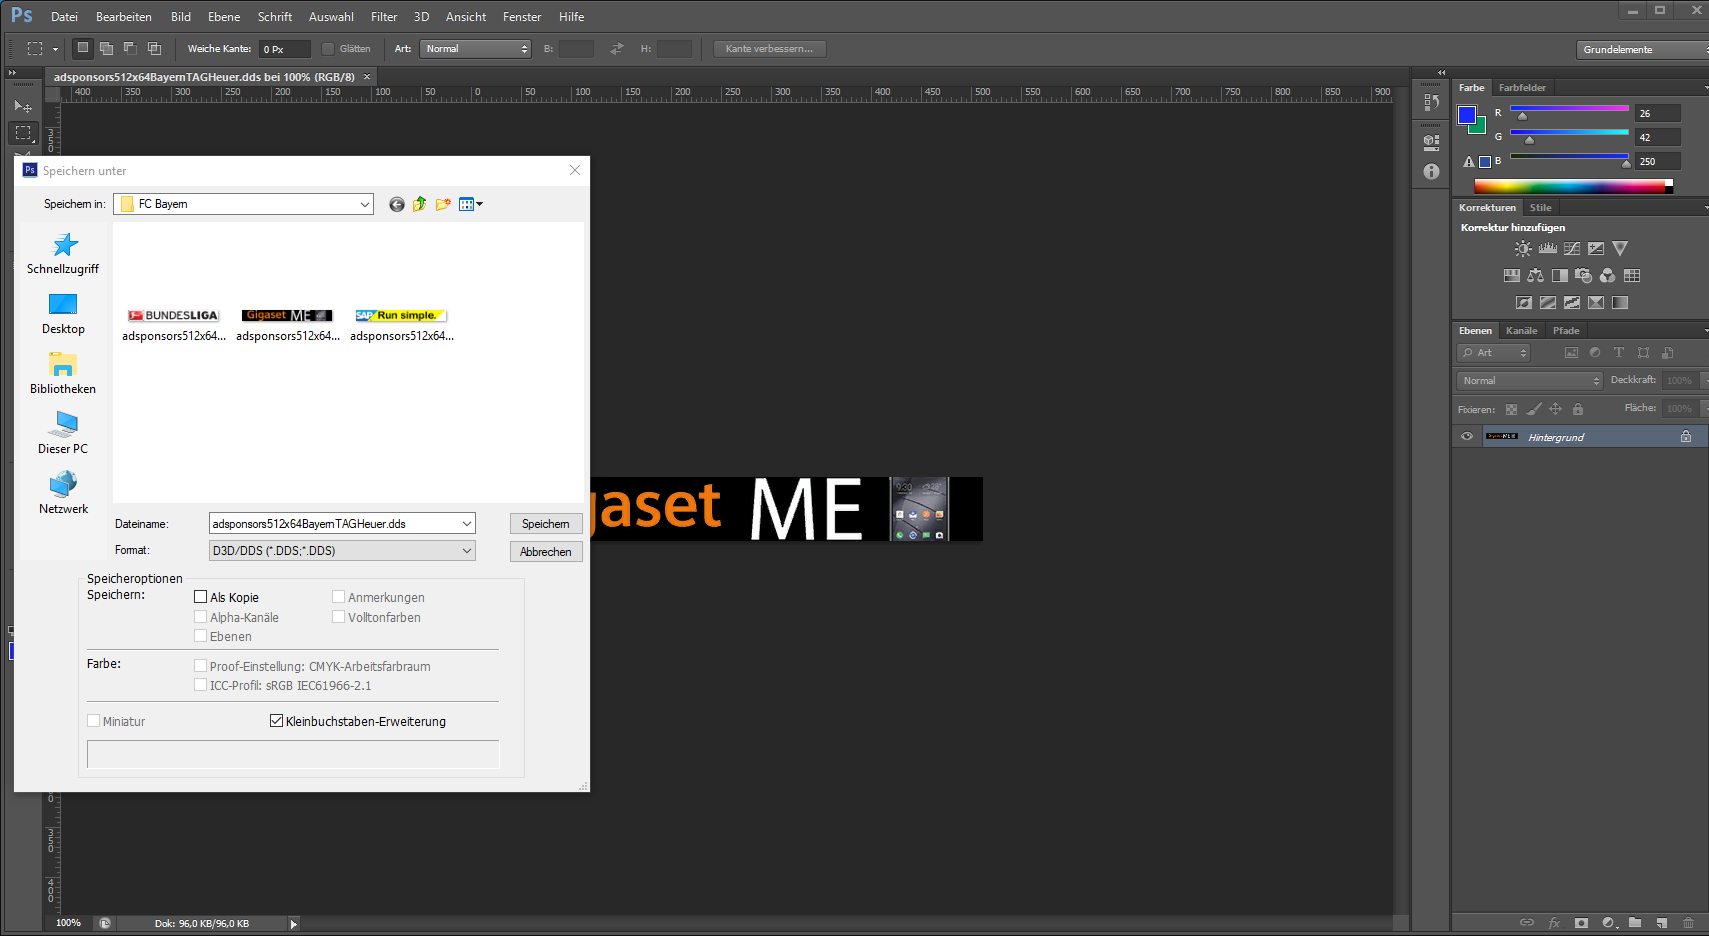
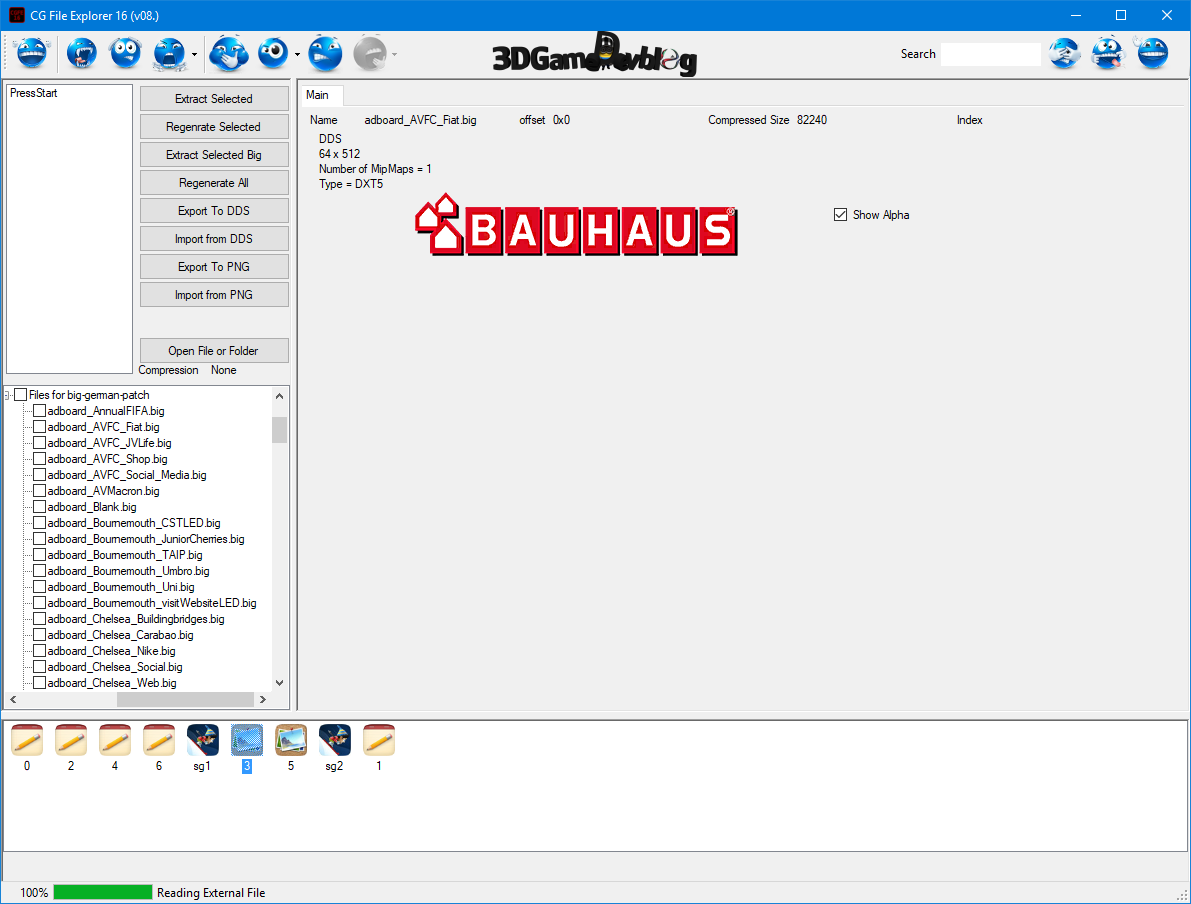
In the example, you can already see why the alpha channel is necessary, because you can also create and import such a graphic transparently, as you can see here very well:

whatever you see, this BIG contains 2 completely different graphics, both are here in 512x64 and both have a transparent background ...
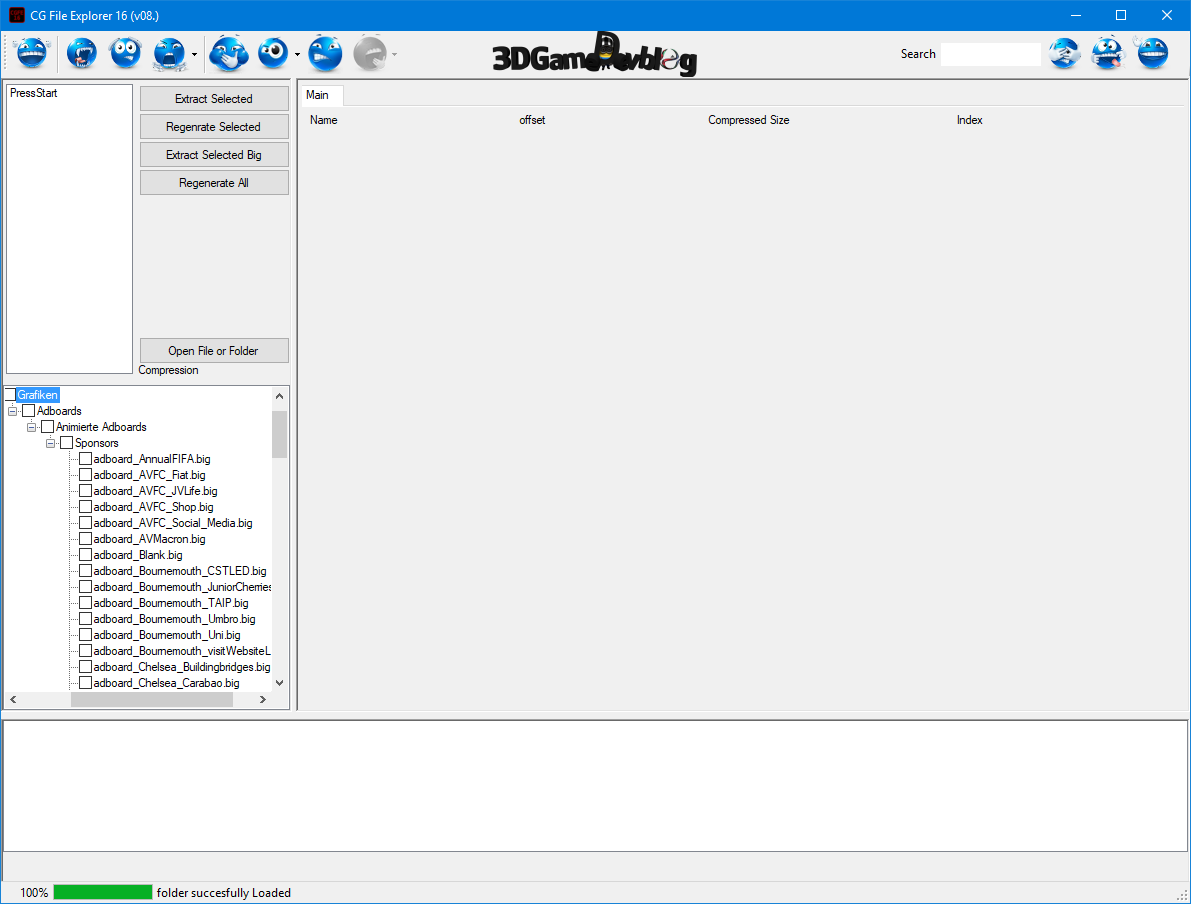
Also such files exist in a BIG:

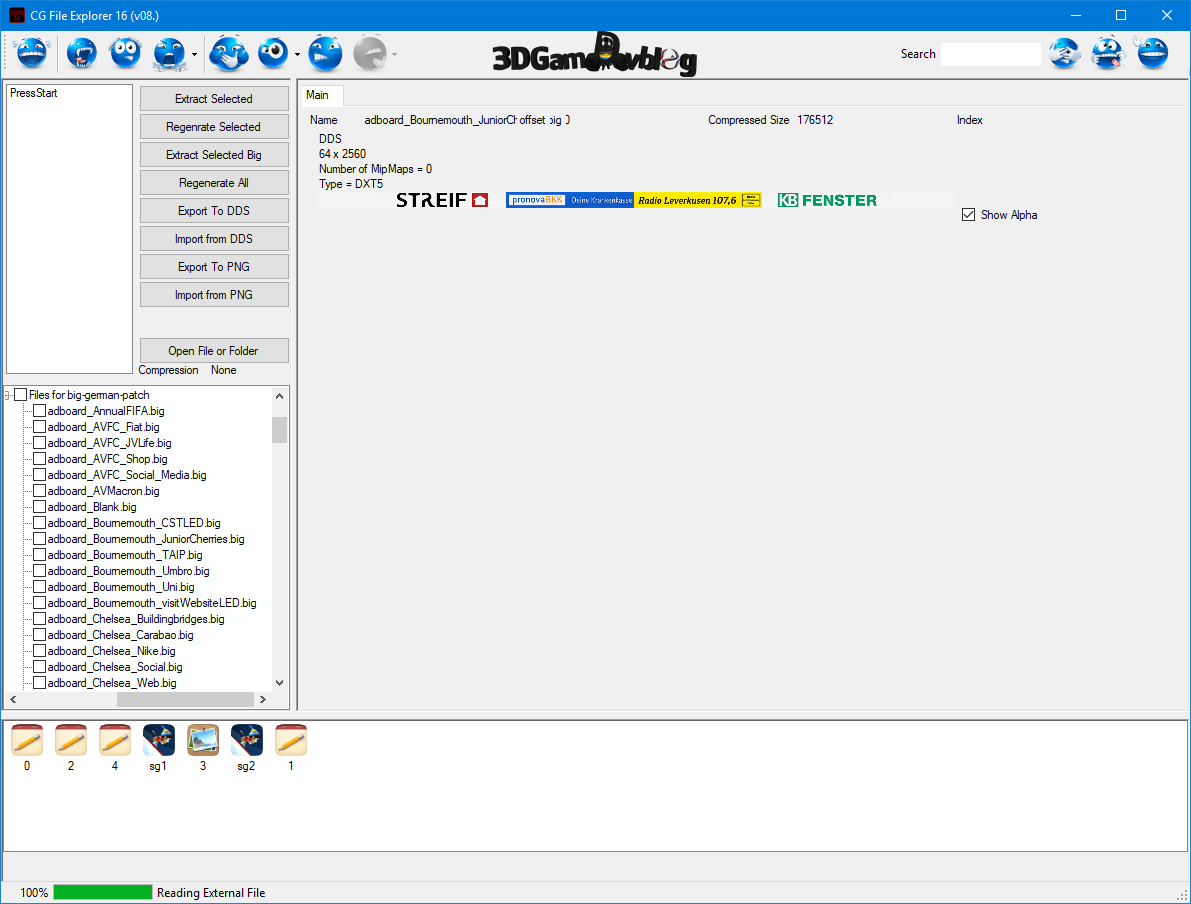
again another size, this time the import size must be 2560x64, the pure, visible graphics, however, only 2048x64 ...

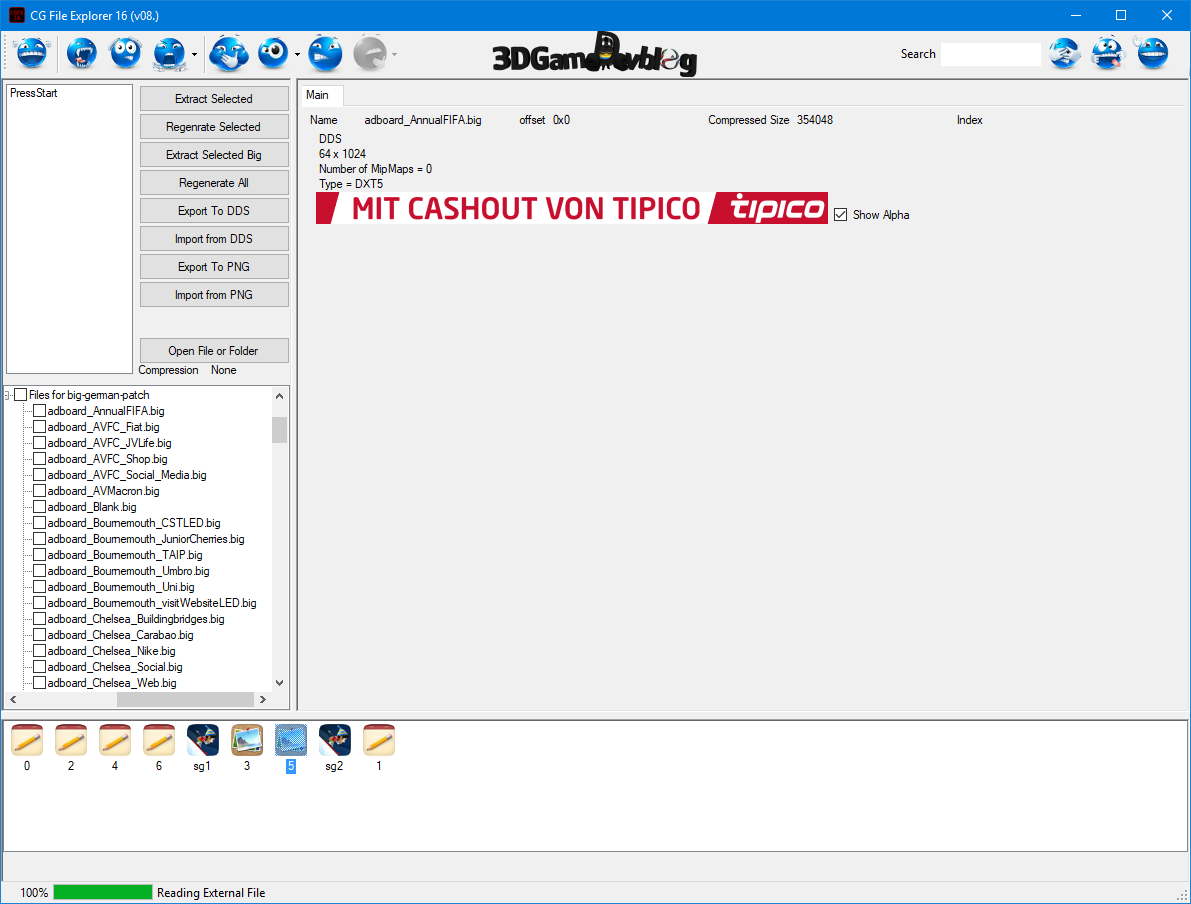
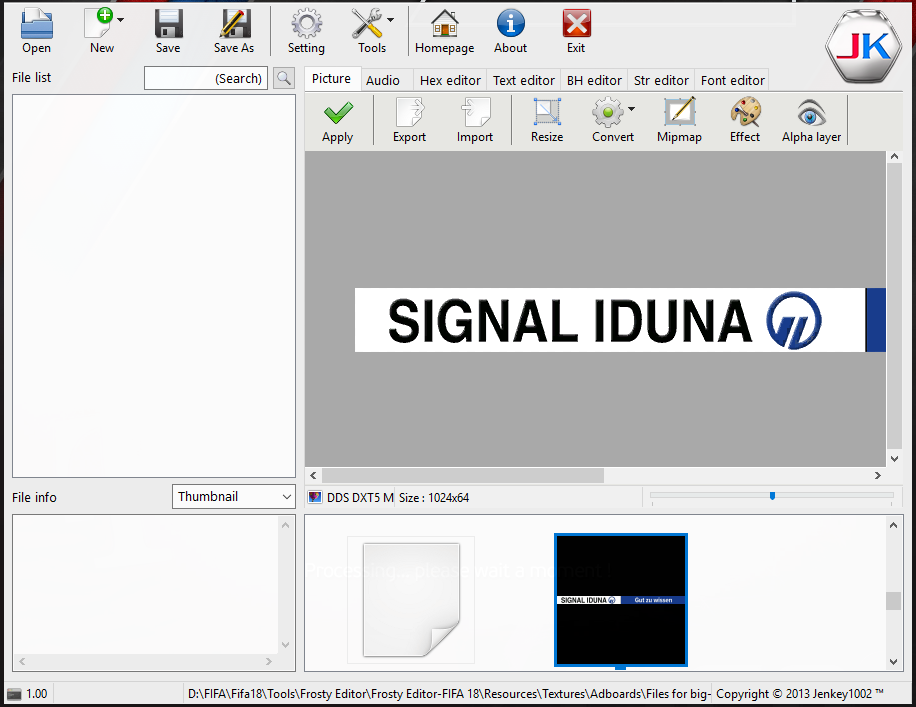
another size, this time 1024x64 and as in the above example, only one graphic file included!
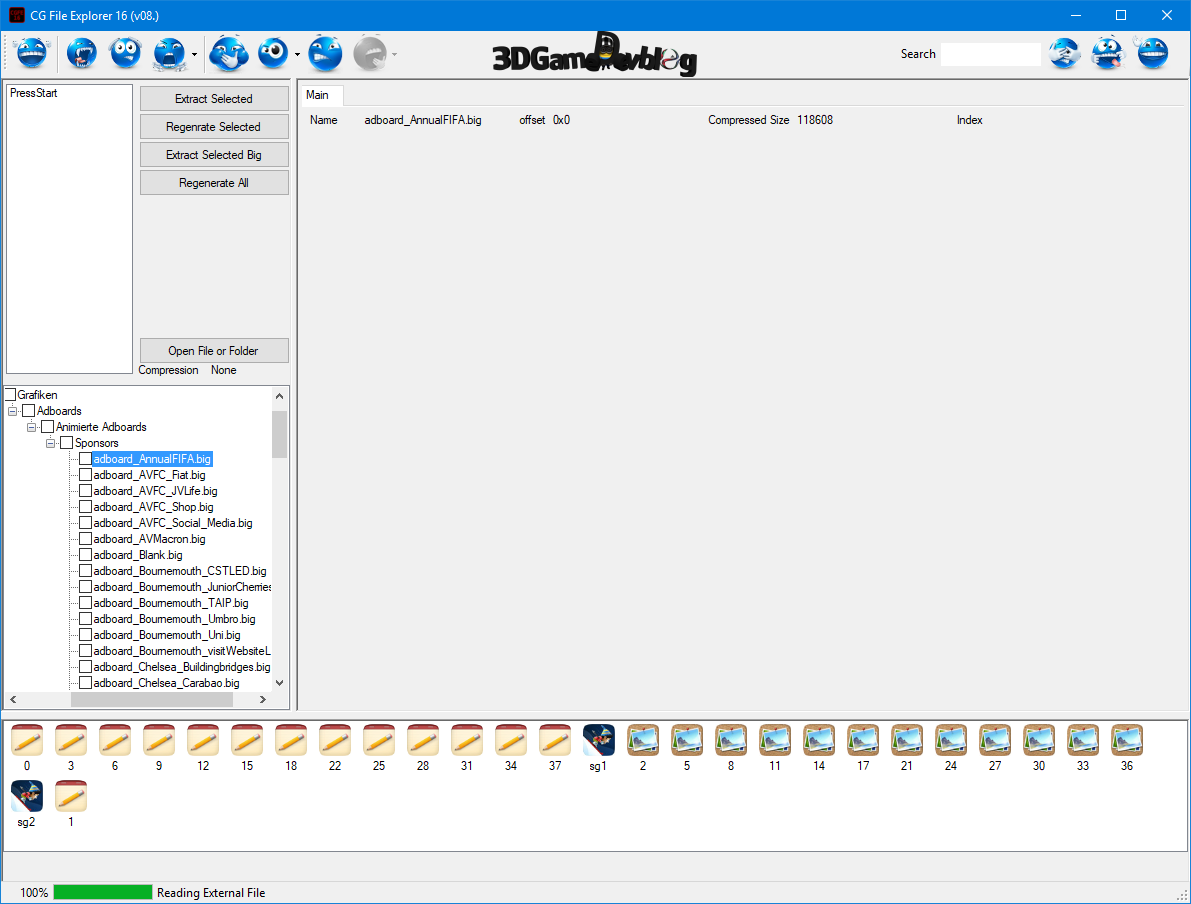
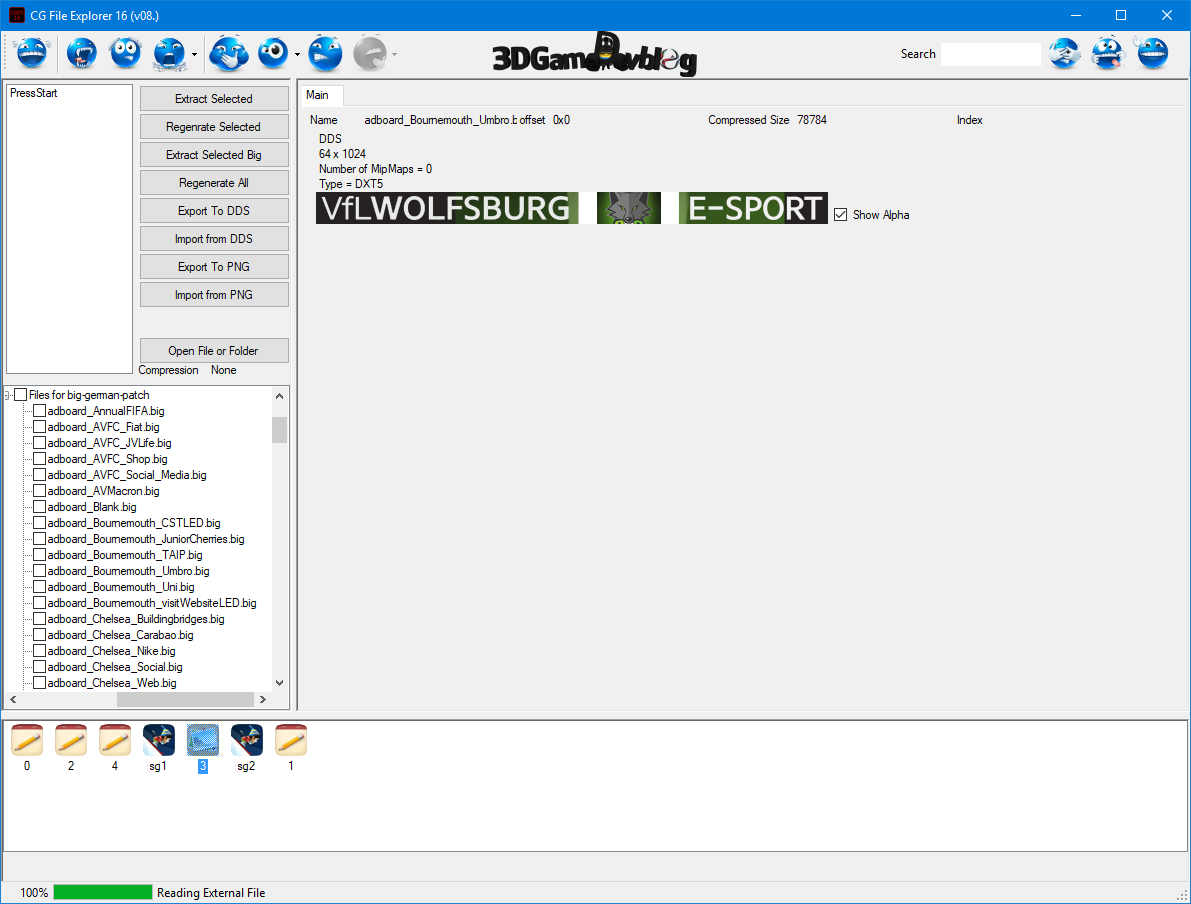
Here is an example, if there are, as in this BIG 3 graphics files, but you only want to use 2:

you think now, wait a minute, because the graphic with the number 3, which is actually 256x512 large, is not missing, it is there, but transparent, so not visible, you simply create a blank graphic file in the appropriate size and imported this also as DDS ...
Remember, you have to click on the "Save" button after every single graphic file that you import, so that it will be adopted!
Incidentally, in my Bg Germany patch for Fifa 18, I did not use a single BIG from the current Fifa, but only some, from Fifa 16, because their content was better promised to me!
What you still need to do, you have to watch videos of the games, whose home club you want to create, because only then you can see the original adboards, which are also used in the real game, so you can adapt it as well as possible to the original!
It takes a lot of time and graphic skills to get it done!
Once you've imported all of your new graphics into Big's, you're not done yet, because each Big also creates a custom color background for the animation that's not exactly what you want it to be.
So, we also change this in every single big one that we've worked on and that goes like this:
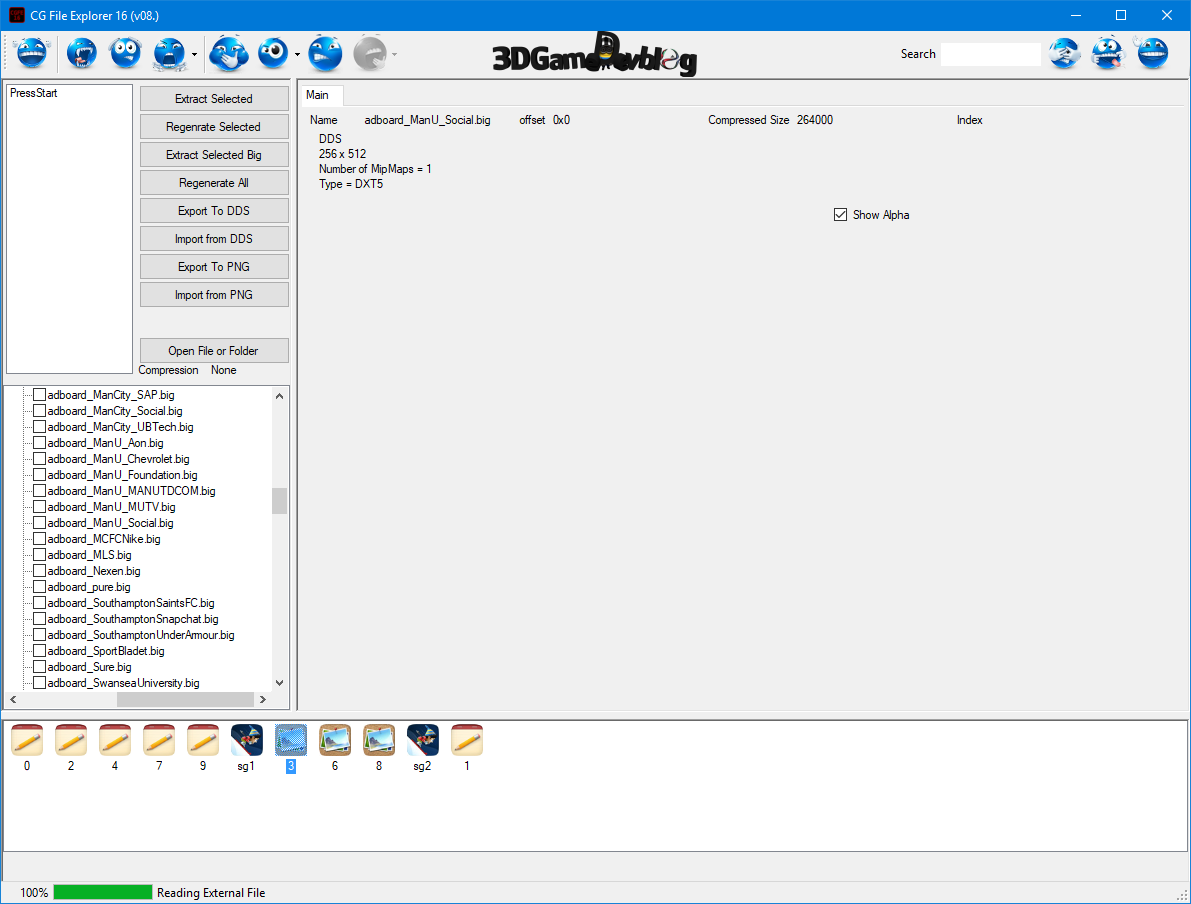
Chapter 3 Editing the BIG Files:
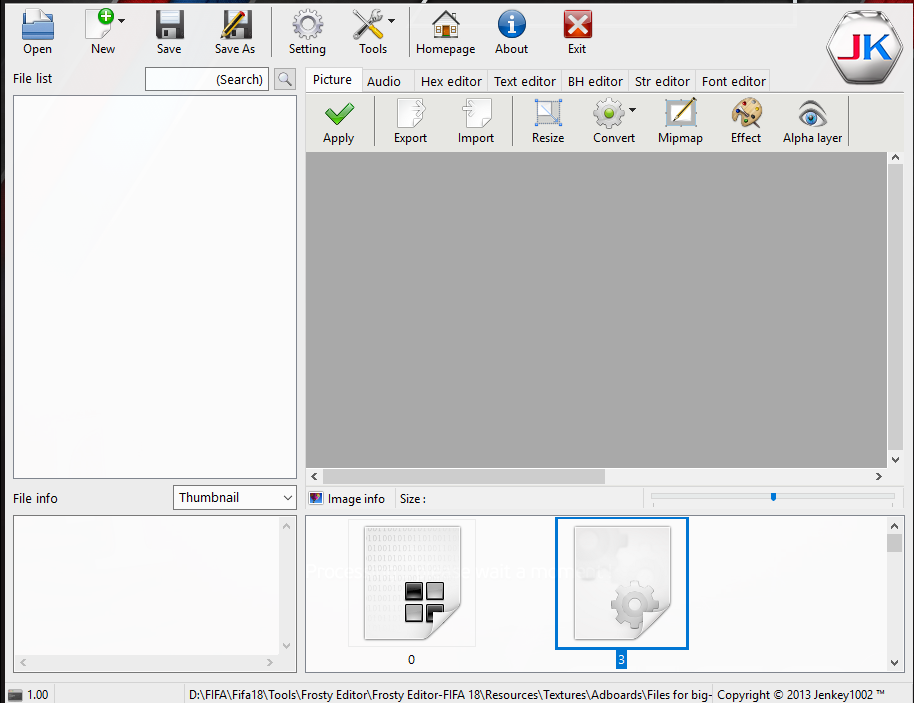
Here comes the second tool, the FIFA File Explorer 2014.
Again, we always start this tool as an admin and when this is done, we can start:

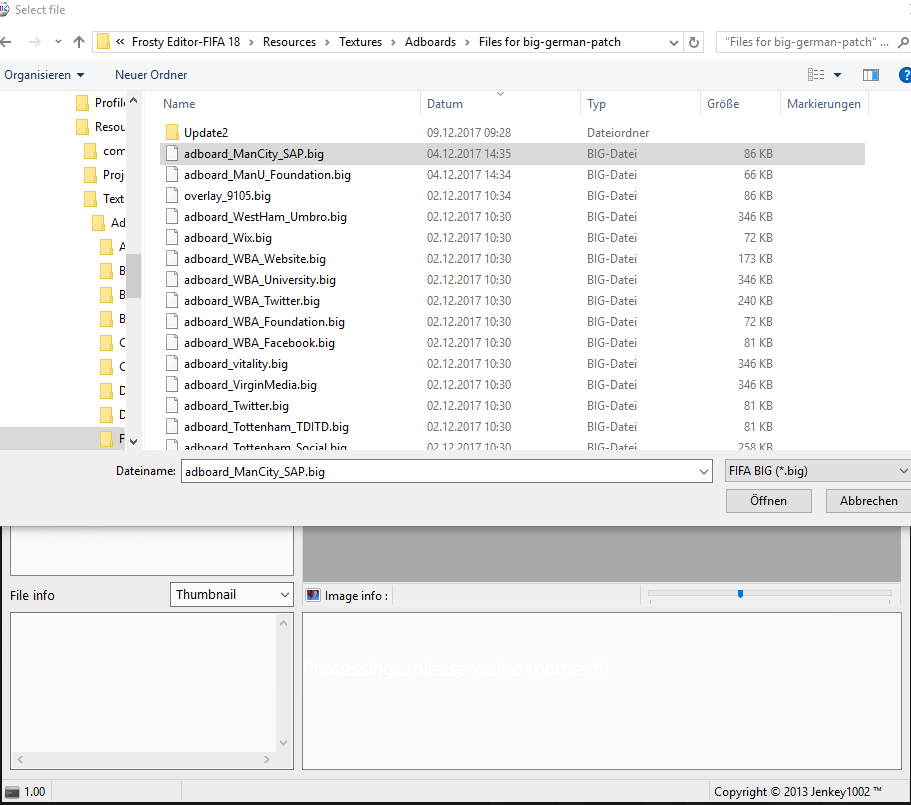
Go up left on "Open", look for the folder with your new big files and select the first of them:

The tool is a bit different from the CG File Explorer, but has a useful feature that the other tool does not have, because I can also export and export blocks from the Big File with the FIFA File Explorer!
an open big looks like this, also here is a preview of the graphics:

and also here you see the data blocks, as in the example the number 3:

Now click with the right mouse button on this 3 and select "Export Block to File", it opens a new window and you simply export this number 3 (the block):

We'll do that with the next block, in my example number 4!
If we did that, we'll leave the file explorer open, because we'll need the big one again!
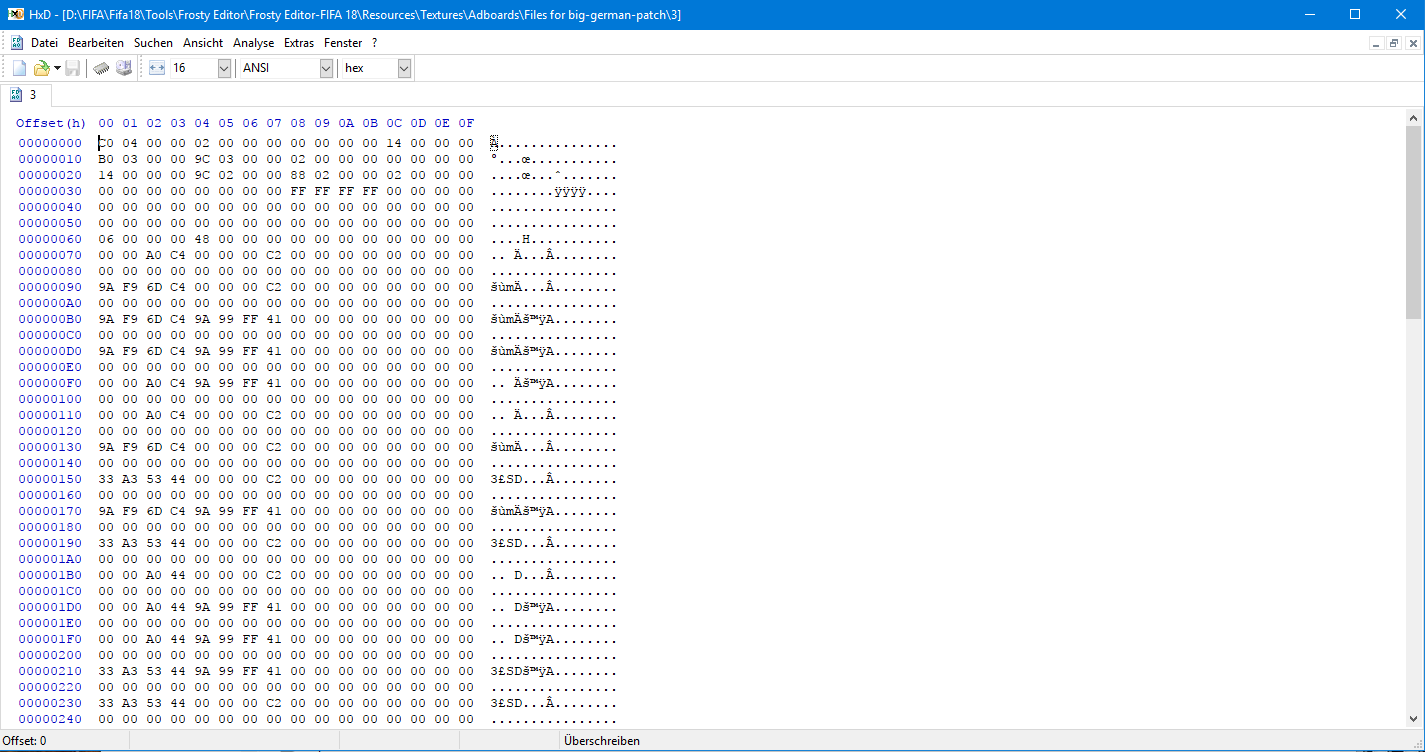
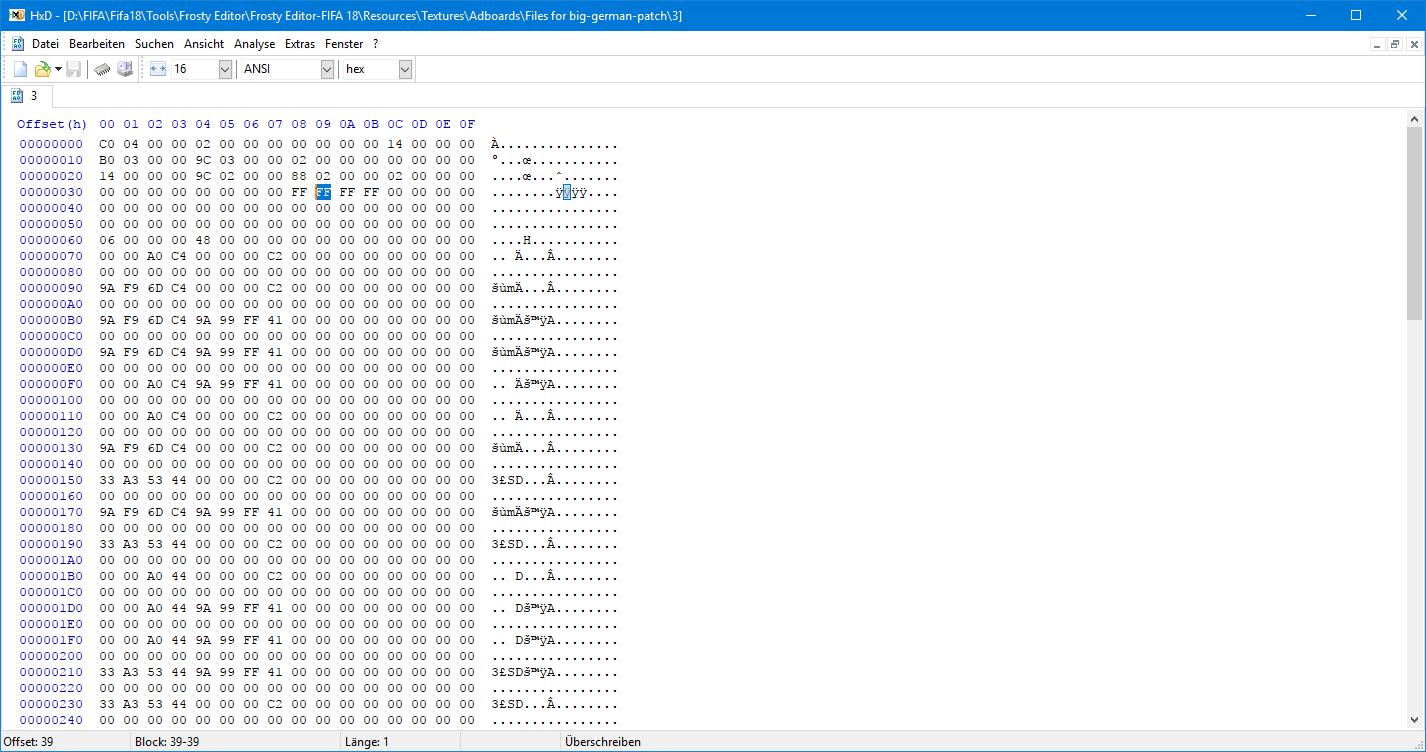
Now we open our folder where the Big ('s) is / are and double click on the number 3, then we select HxD (HexEdit) and open this block:

The color code is usually always very high up and always starts with "FF":

In my example, that would now be the color white = FFFFFF
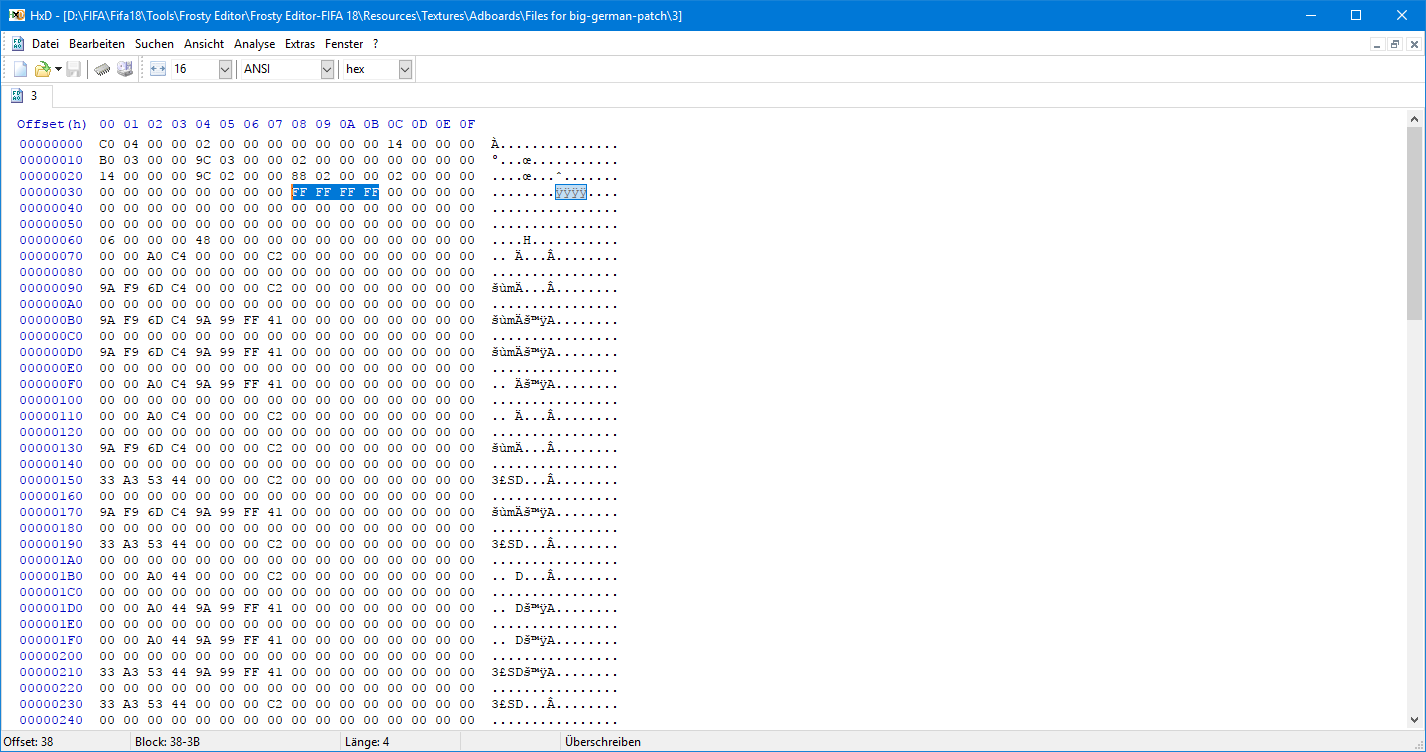
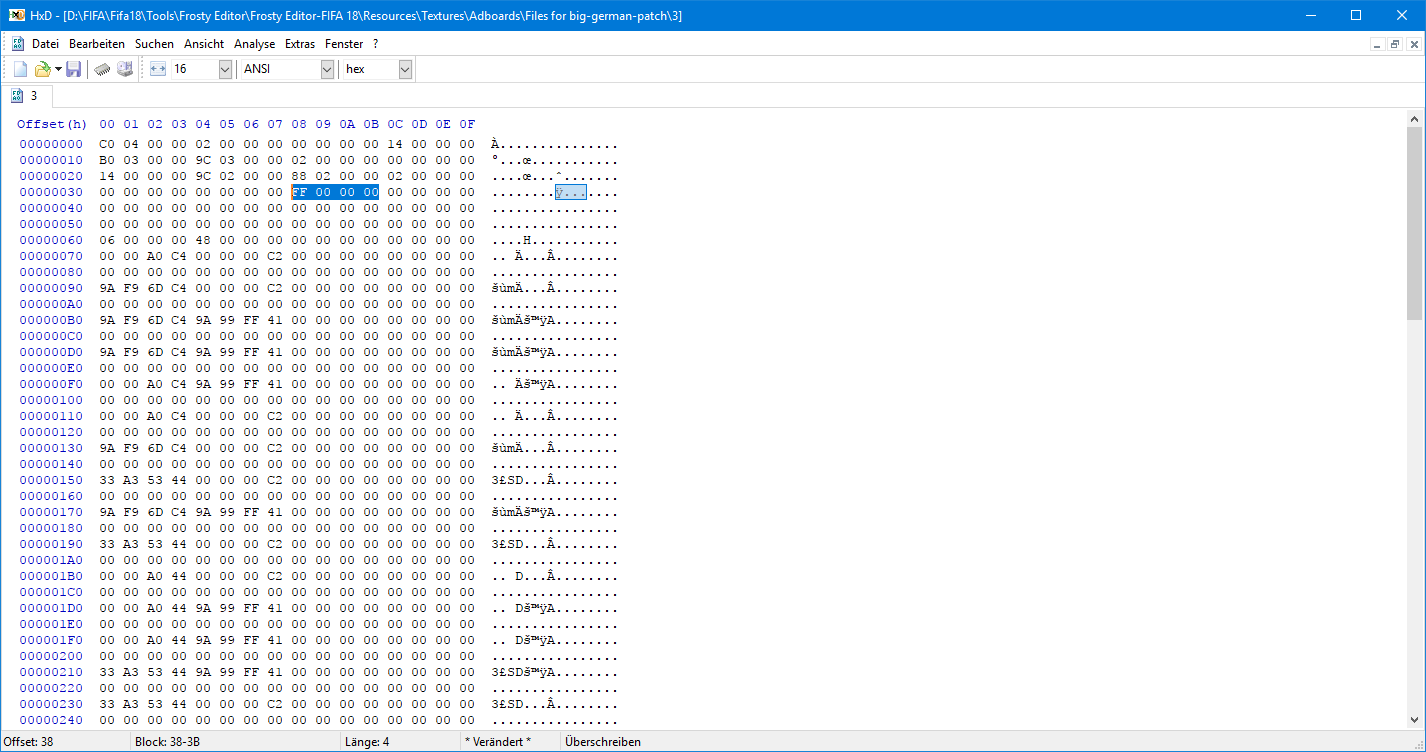
Now comes the important part, because I do not want white as a background, but eg black, so I have to change the values after the FF, in which I always mark a "pair" and just enter a 00, so do 3 times !

when it's done, it should look like this:

In my example, I have now changed the color code to black!
If we did that with both blocks, we have to import the changed ones again.
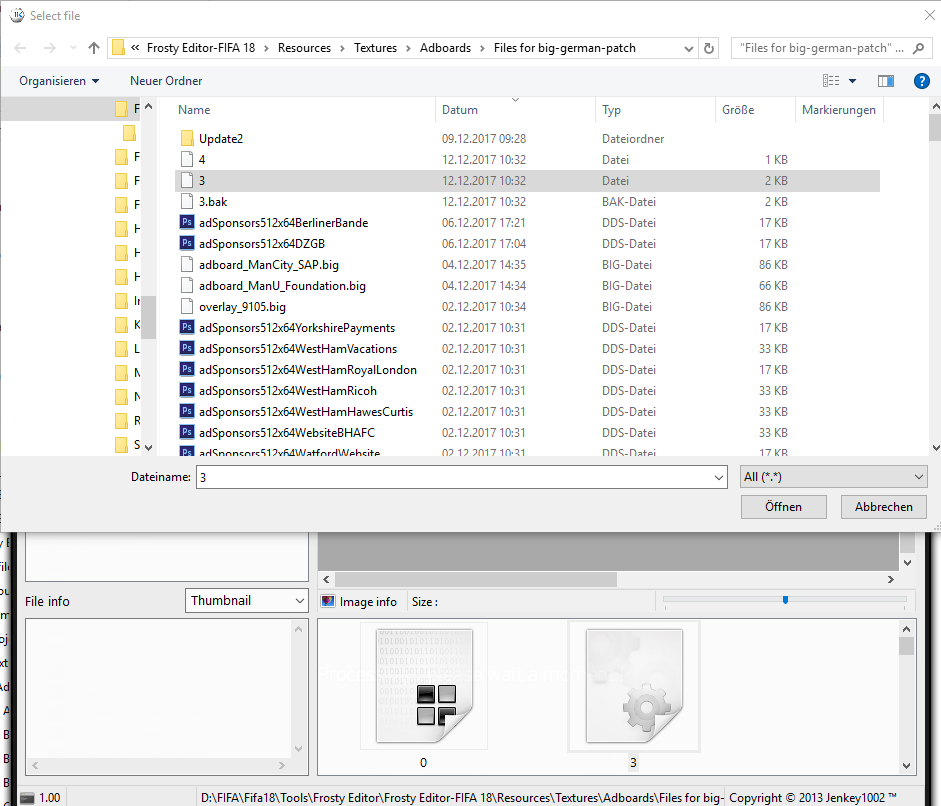
In the FIFA File Explorer, right-click on the number 3 (or 4) again and select "Import Block from File"!
Please note that you have to select the "3", because this is your changed file, the generated "3.bak" is just a backup of the original file, which you no longer need!

After every import you have to click on the button "Apply", otherwise the respective change will not be accepted!
If you have imported both blocks (also on "Apply"), then you go up to "Save" and the Big is automatically saved!
That's it, except that you have to do this with each of your bigs so you can be sure they will be displayed properly!
If you have all the big ones ready, you can now import them via the Frosty Editor!
Chapter 4 - Editing the Database:
Yes, now comes the most beautiful topic and also where you can make the most mistakes.
Because what good is the whole new graphics, if you do not assign them to a team or a league or a tournament competition, nothing.
That's why you can not avoid editing the database accordingly, how it works, I explain to you now.
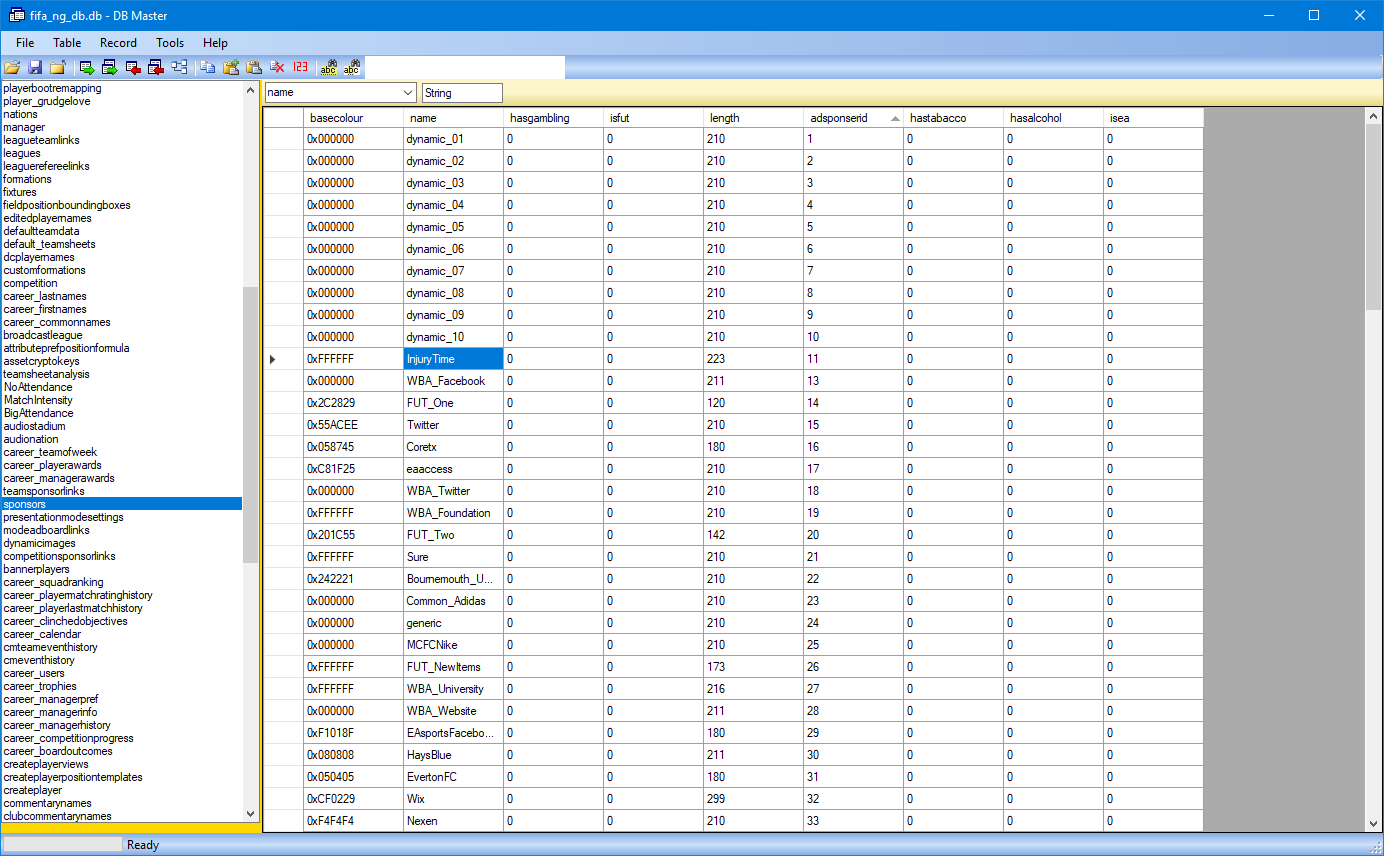
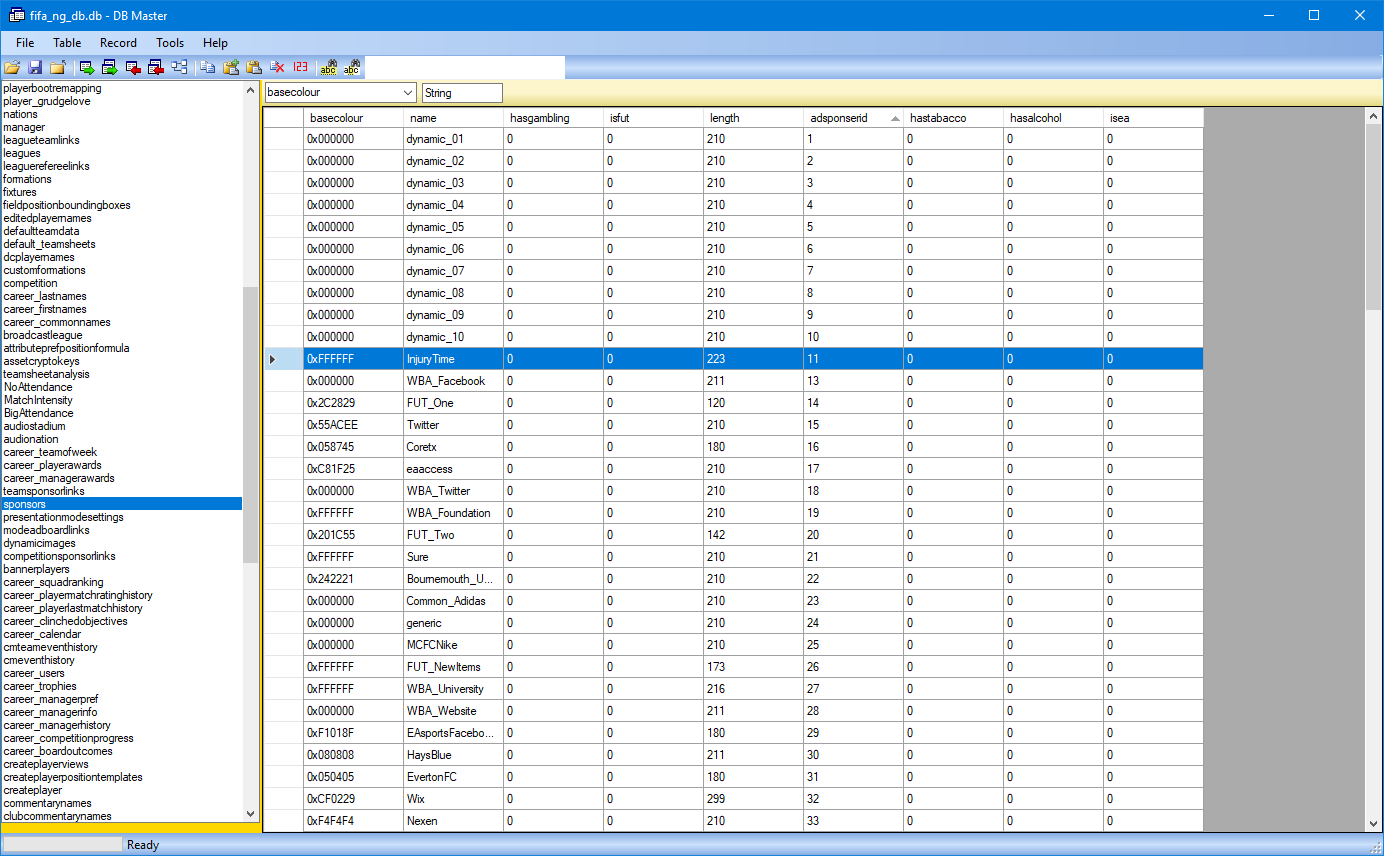
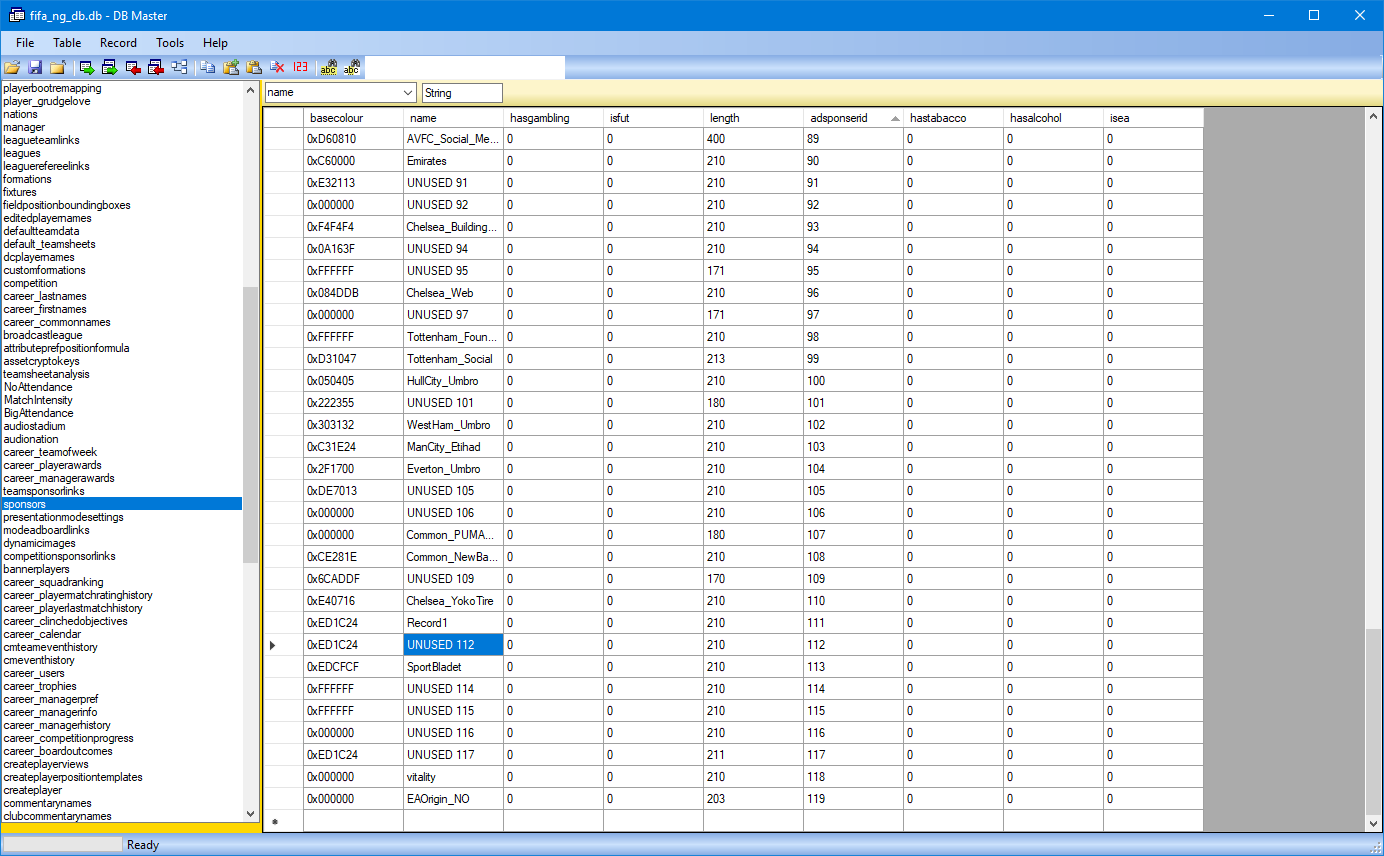
1. the table "sponsors":
The name sounds familiar? Right, yes, there are graphics that have been called that, the BIG archives. Their name can now be found in the corresponding table in the database and you should not change these names!

The table is divided into columns,
"adsponsorid" = the ID of the graphics that you will need later when it comes to team assignments or competitions!
"basecolour" = the background color of the graphic in general
"name" = the name of the graphic (as I said, do not change!)
the columns "hasgambling", "isfut", "hastabacco", "hasalcohol" and "isea" simply set all to zero (0)!
just leave the column "length" as it is!

you can just ignore such entries, because these graphics do not exist:
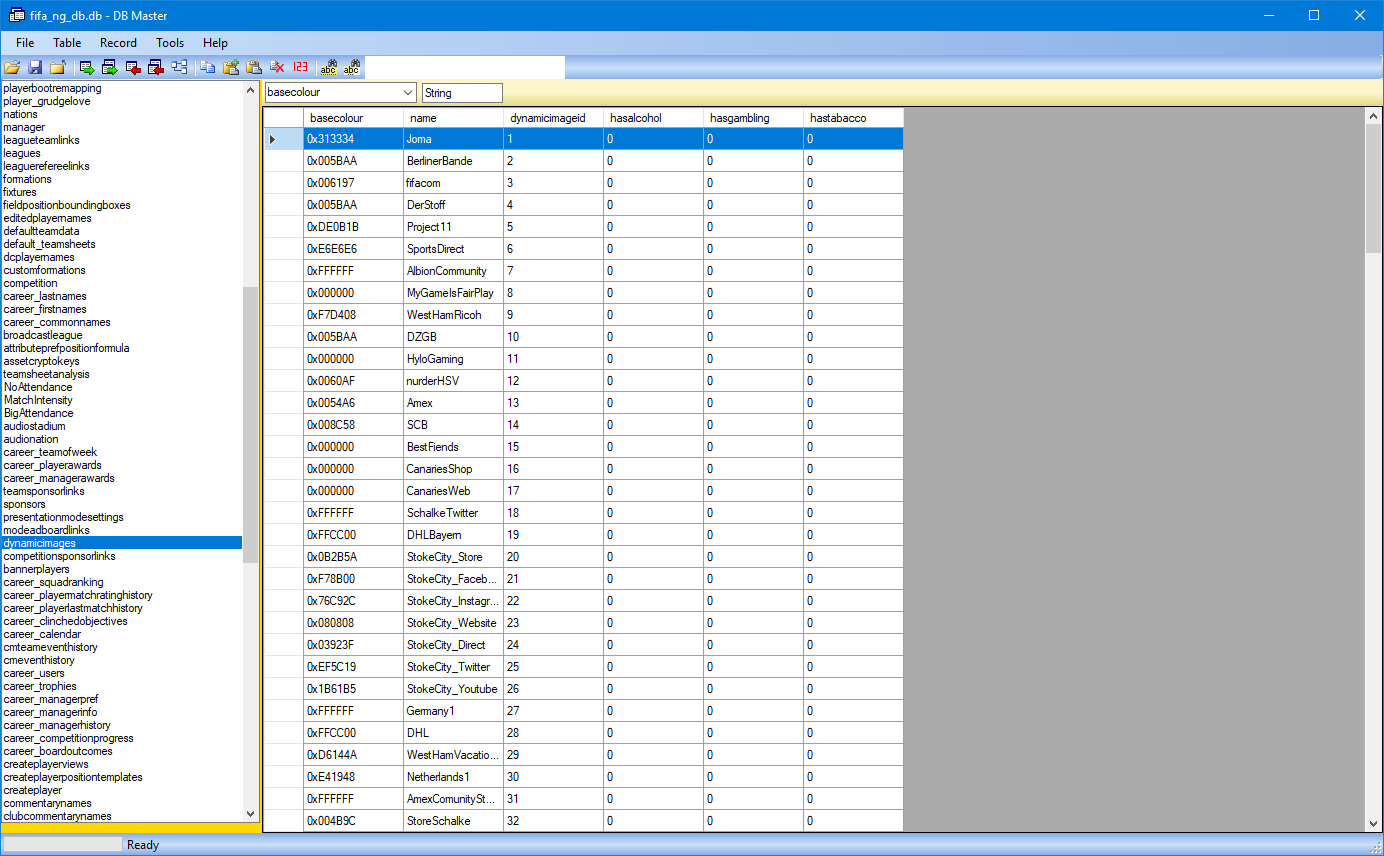
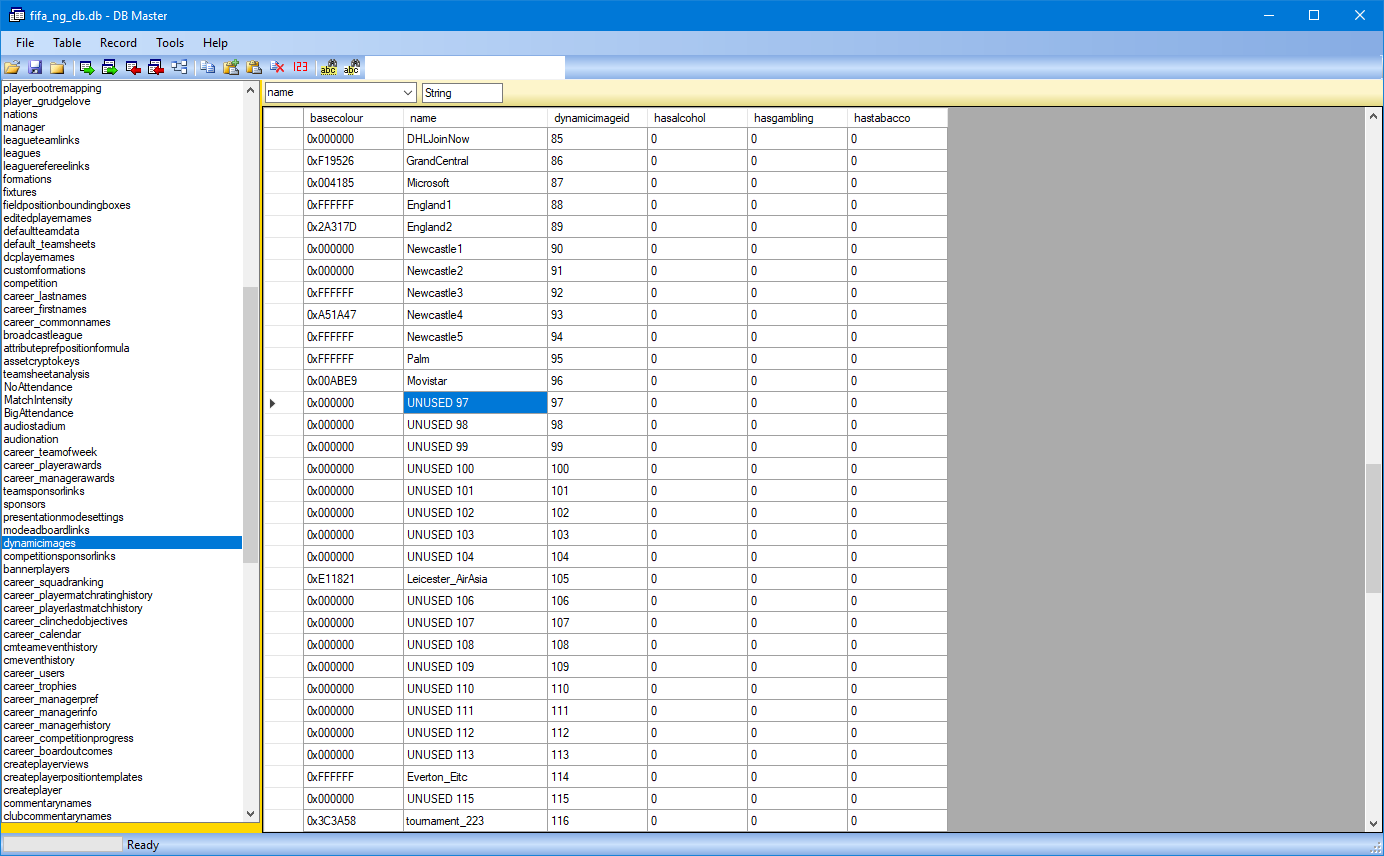
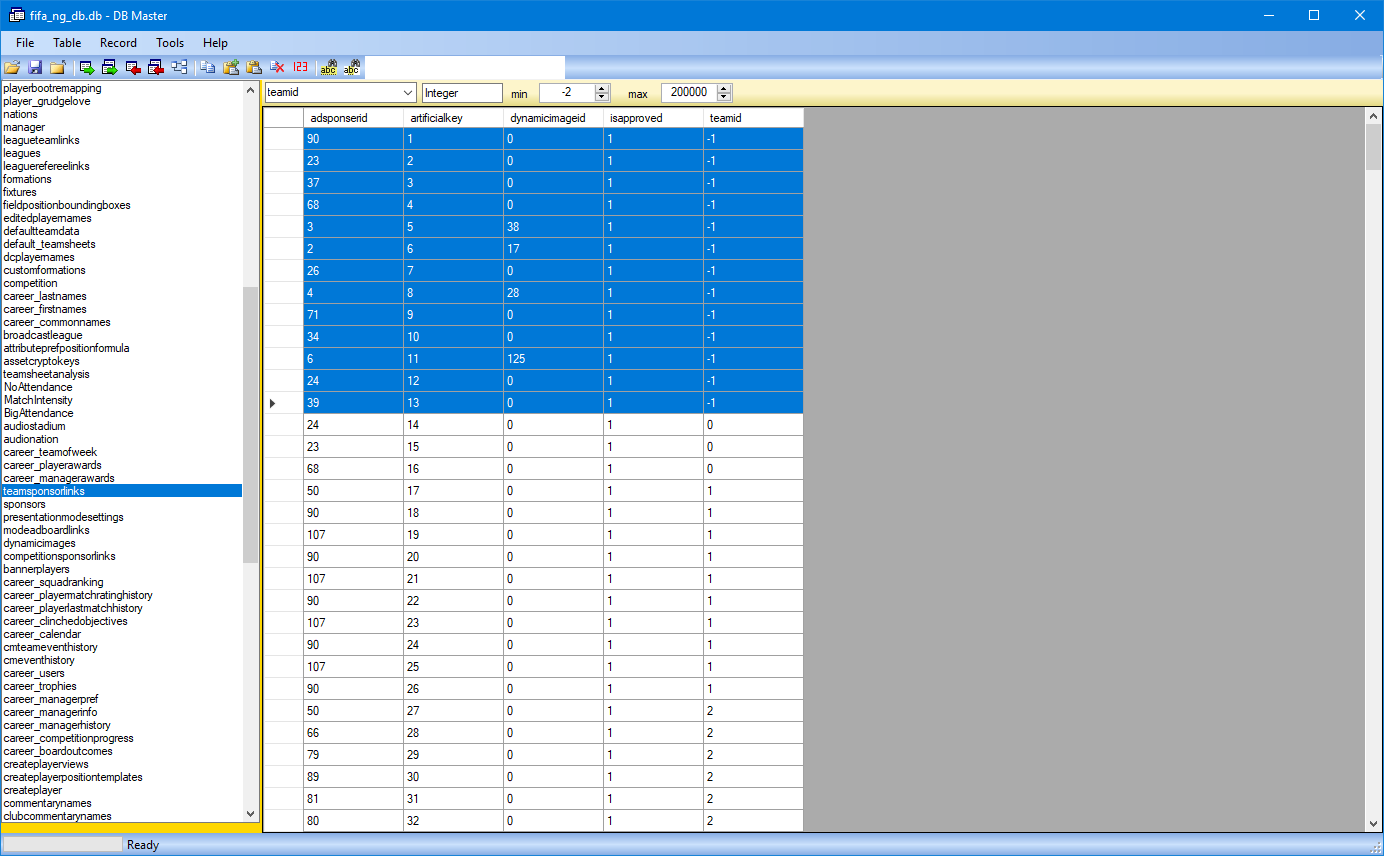
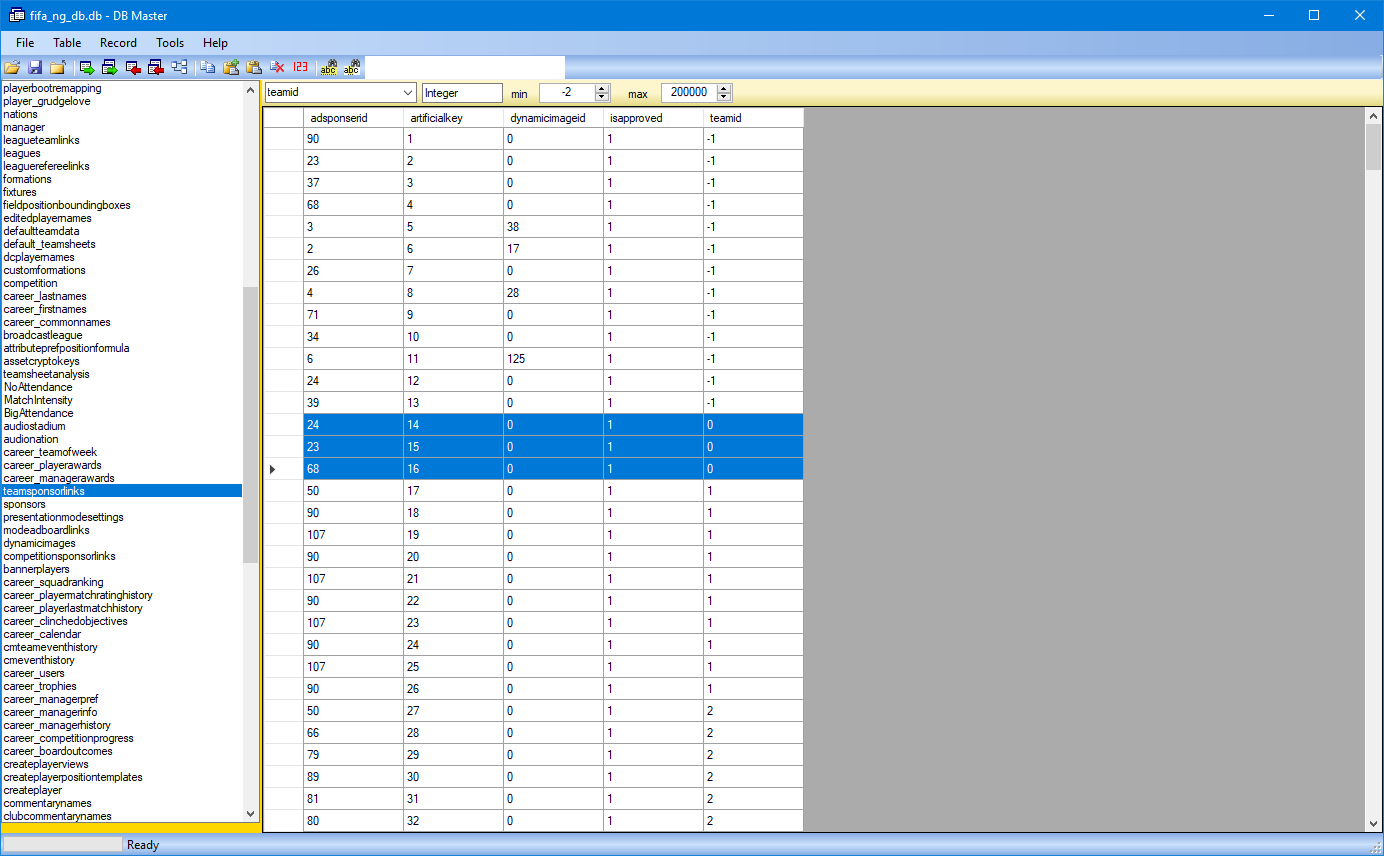
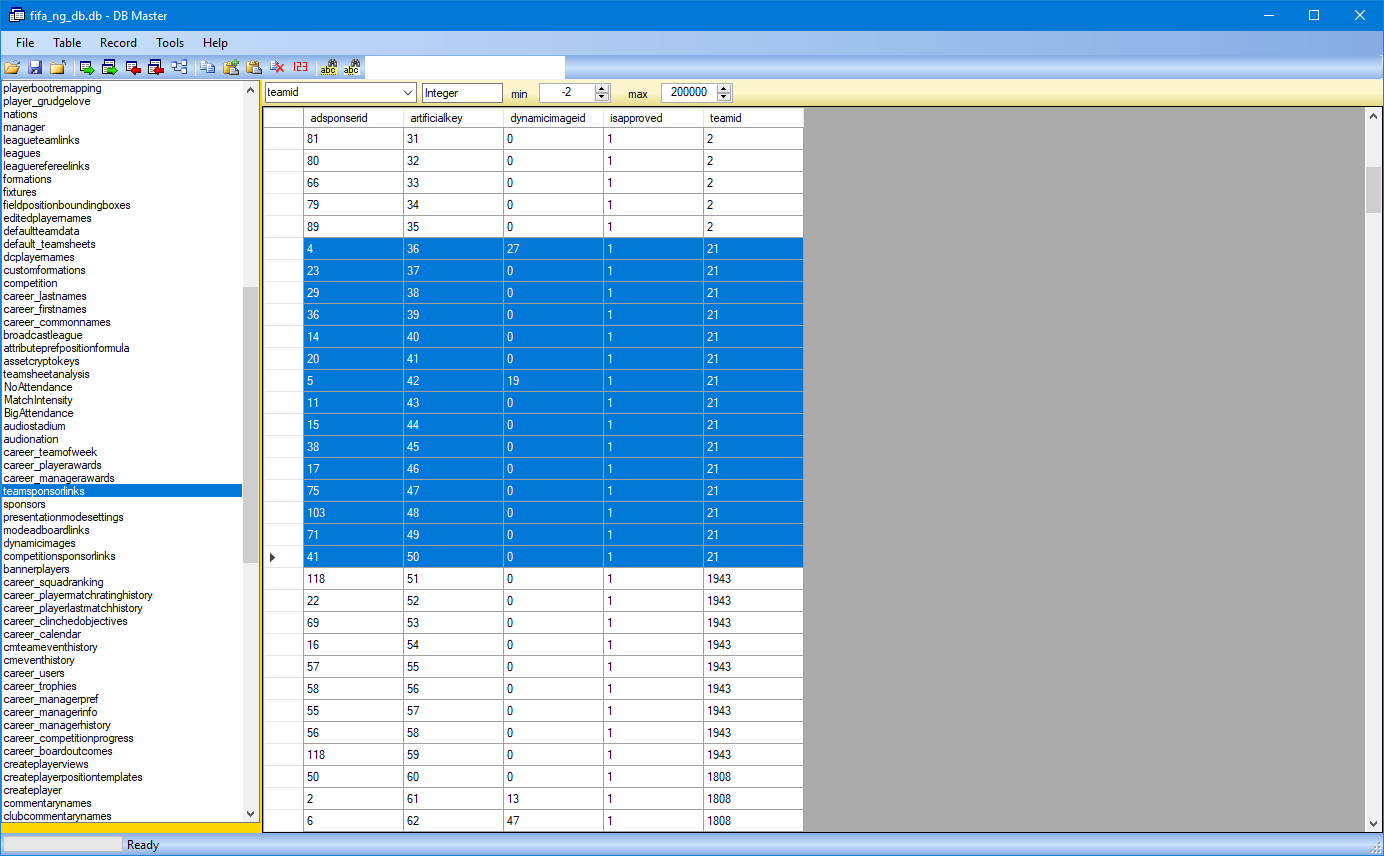
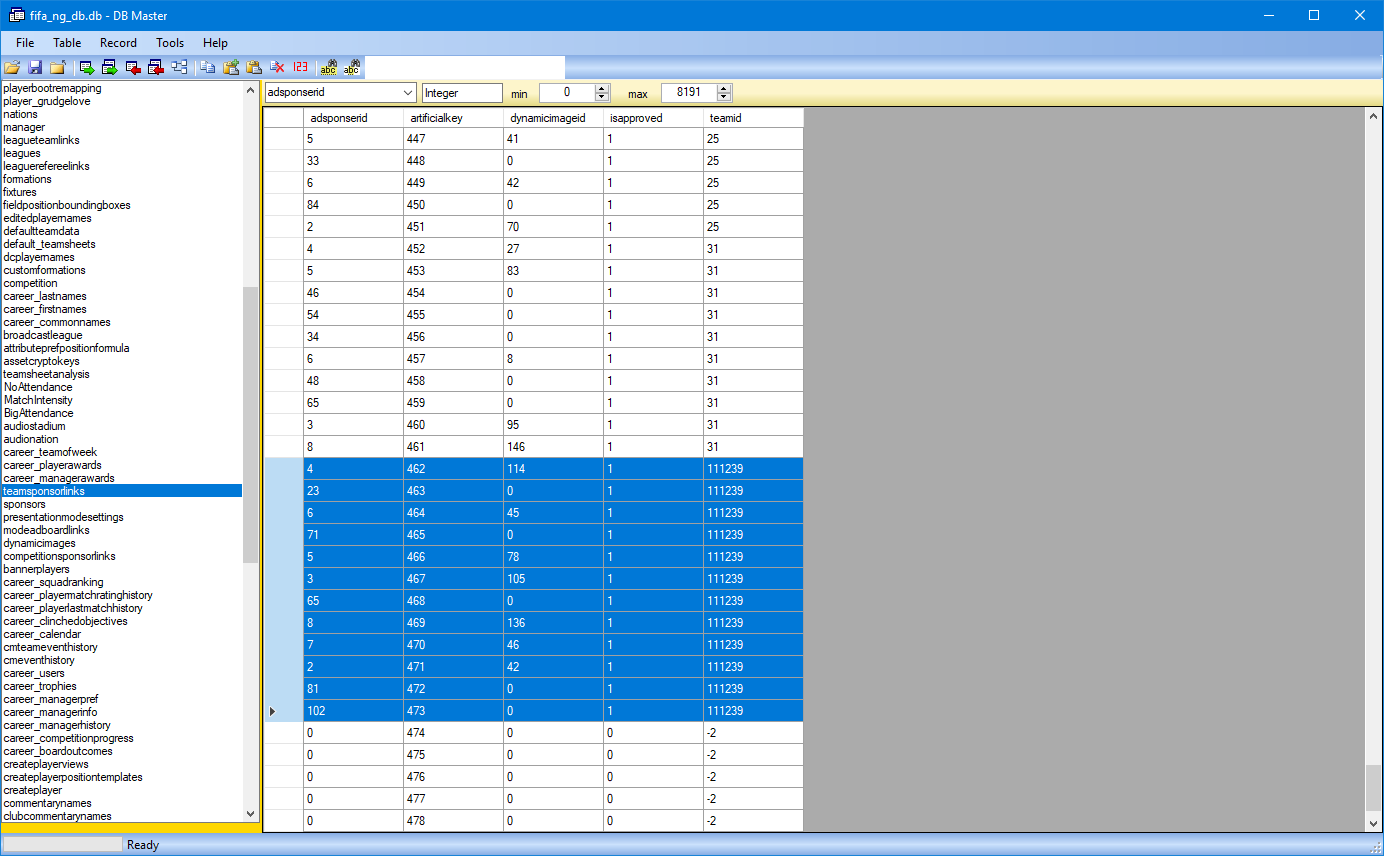
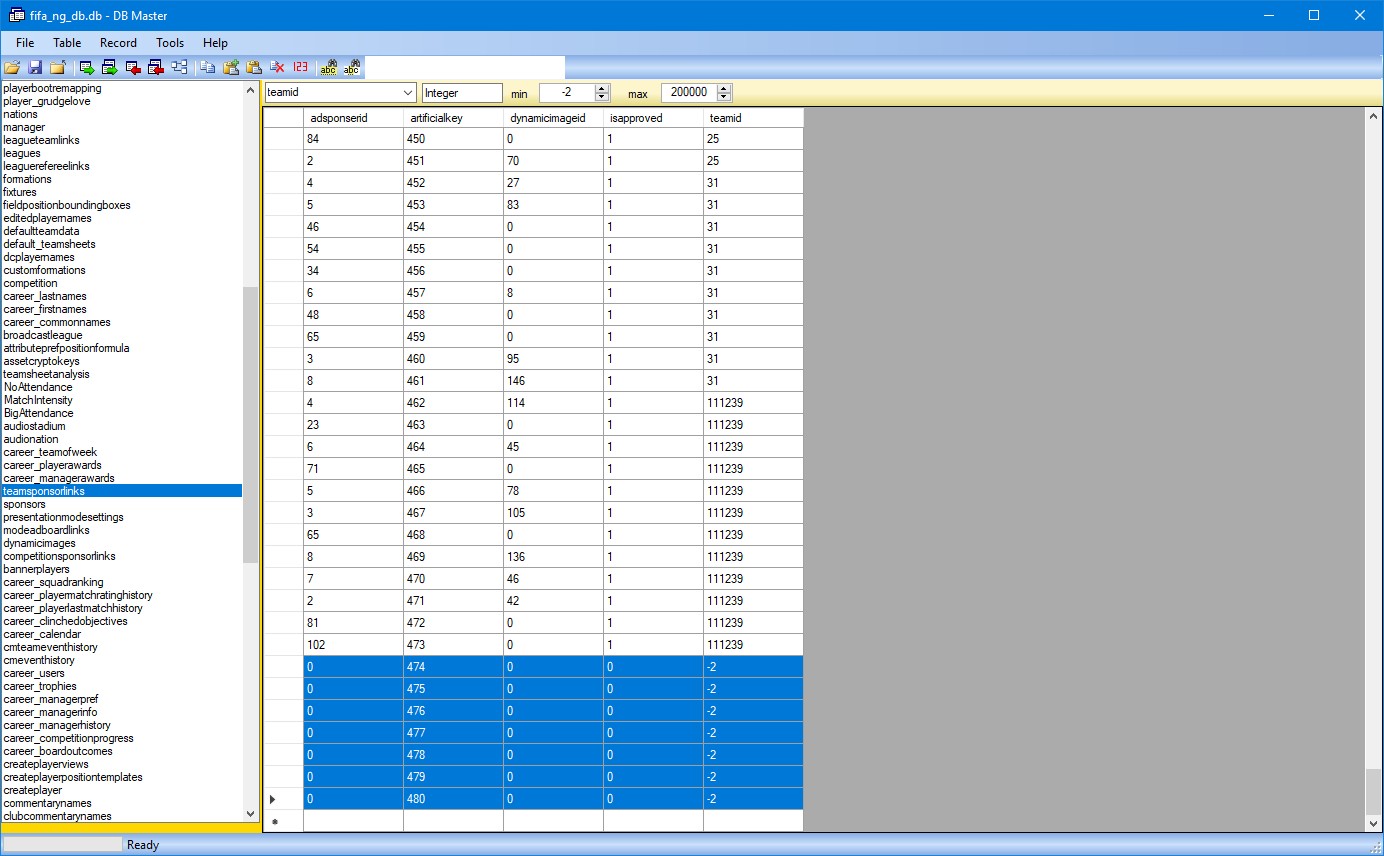
 the "dynamicimages" table
synonymous, we had the term, these are the graphics that are pure DDS in size 512x64
Again, we have different columns in the table again
"basecolour" = the background color of the graphic, but here is a very important part that you should absolutely adapt to its new graphics!
"name" = the name of the graphic again
"dynamicimageid" = the ID of the graphics, you will also need them!
the other 3 columns just set them all to zero (0)

Again, there are again entries that are irrelevant, since these graphics do not exist: